Steam Smart Pro Carpet Duct & Tile Cleaning 

Experts Share How to Clean Grease Out of Grout
Eric Bullard • 7 June 2022
Carpet Cleaning Services in Tucson, AZ

Are you tired of the grout in your shower looking gray and grimy? Have the spaces between your kitchen backsplash become sticky? Are you wondering how to clean grease out of grout? Then look no further!


Here are some of the easiest tips and tricks to remove stubborn stains and grease from the tile and grout in your home. However, if you’d rather leave it to the professionals, try  Tucson’s top-rated grout cleaning services from Steam Smart Pro.


What is Grout?

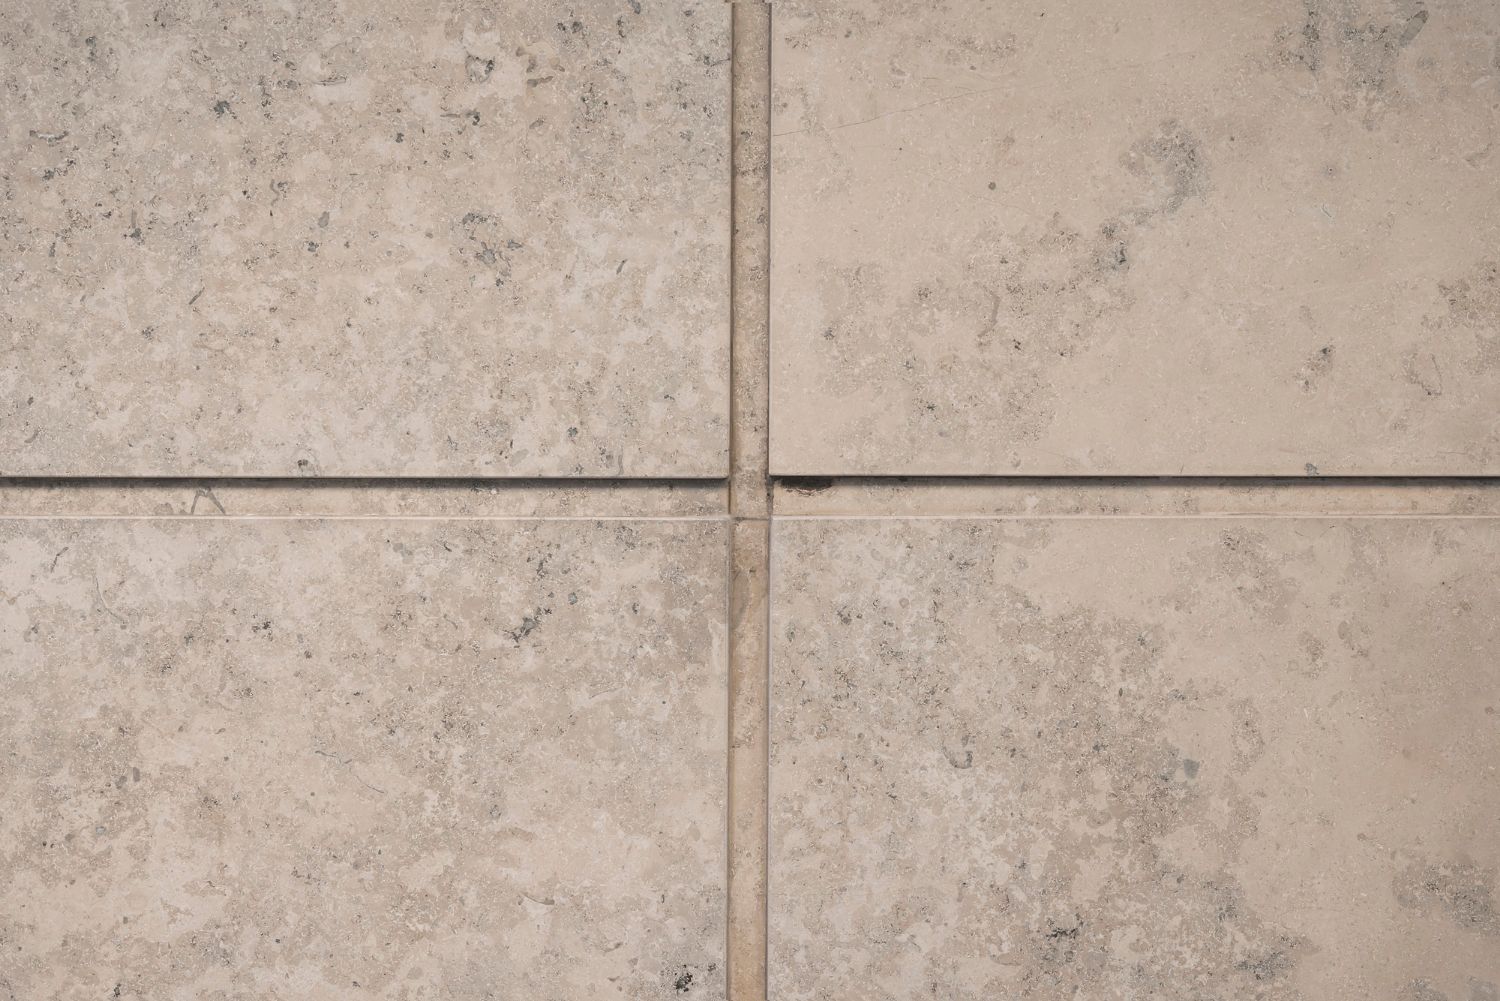
Grout reinforces tiles; it is essentially the “glue” that keeps individual tiles in place on your floor, shower, or countertop. Many homes have grout in kitchens, bathrooms, or any room with tiles in it. Over time, grout tends to become discolored. Grease builds up and also dirties the grout’s appearance.


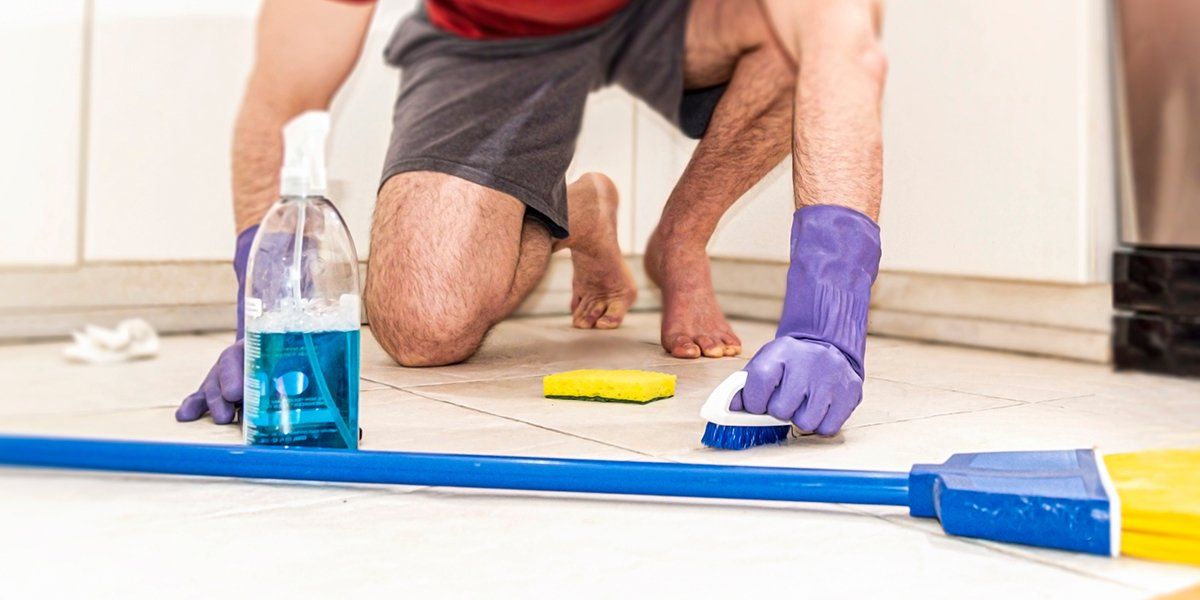
Having stained grout can feel like a burden, especially if you’ve never tackled the situation before. However, we have three simple suggestions for how to clean grease out of grout at home with products widely available in stores.


With these options, you’ll be able to remove grease in no time! Stains will be gone, and your tile will look brand new!


Method #1: Grout Cleaners

Grout cleaners are available online and in stores. From eco-friendly to fragrance-free options, grout cleaners, such as Black Diamond Ultimate Grout Cleaner or Bar Keepers Friend Soft Cleanser Liquid, provide a quick and easy solution for someone in a hurry.


The biggest drawback of this grout cleaning method is that grout cleaners often come with a hidden price. More often than not, store bought grout cleaners contain harsh chemicals not safe for children or pets. Choosing a product from the shelf requires both diligence and caution in order to remove the grease.


Method #2: Vinegar and Baking Soda

White vinegar and baking soda are two common household items that stand the test of time when it comes to cleaning. Due to its high acidity rate, vinegar wears down grease and grime quickly and efficiently.


Baking soda, on the other hand, acts as an abrasive. It dissolves the surface level of the grout in order to remove any dirt and sticky substances. When combined, white vinegar and baking soda provide an extremely effective option to clean the grout in your home.


Using equal parts vinegar and baking soda, mix the two ingredients into a paste before applying it to the grout. Leave it in place for at least ten minutes, then wipe clean. While the grout should be noticeably cleaner, sometimes it doesn’t grant the grout the appearance of being brand-new.


Method #3: White Vinegar, Baking Soda, and Lemon Juice

In addition to white vinegar, lemon juice also provides a natural source of acidity. The recipe for this mixture, though, differs slightly from the one above. Here, you will have to use the ratio of 1:1:2 – one part white vinegar to one part lemon juice to two parts baking soda.


This recipe also forms a chemical reaction and results in a bubbling, foamy texture. Continue adding baking soda until the concoction becomes a paste. Once it has reached the desired consistency, apply the paste over the stains and let it sit for at least ten minutes.


When the time is up, lightly scrub it with a toothbrush and then rinse with warm water. Using a toothbrush seems simple enough, but it is important to scrub gently and not too harshly. Doing the latter can result in damaging the grout or removing it entirely.


Boom! Your grout looks better than ever.


Method #4: Bleach and Water

Bleach and warm water should be used when all previous attempts have failed. Though the concoction will clean the grout, too much can negatively affect it and result in the grout breaking down. It’s best to mix this outside or in a well-ventilated area to avoid inhaling toxins. For additional safety, wear safety glasses in case of splashback from the bleach.


Gather a gallon or so of warm water and mix it in a large container with three-quarters of a cup of bleach. Stir the mixture gently, then use a toothbrush to scrub the stained grout area.


Once scrubbed, let the bleach and water mixture sit and absorb into the grout. After a minimum of 30 minutes have passed, use a mop to wipe up all of the bleach and water. This cleans the surrounding tiles while also removing the stains.


How to Clean Grease out of Grout

Though all four methods result in clean grout, each comes with its pros and cons. You may need to combine multiple methods or scrub your grout a few times to completely eliminate stains.


Grout cleaners offer an affordable price point and no hassle in having to mix ingredients yourself. However, you must thoroughly read the instructions and warnings, and they require caution when applying the substance to your grout. While it provides a quick solution, it also needs a careful eye on it at all times.


The water and bleach method also uses harsh chemicals. While it might produce the cleanest and whitest grout, the fumes can be toxic to your and your family’s lungs and harm your skin.


White vinegar and baking soda, though, lack the harsh chemicals and toxins found in the others but might not reach the desired whiteness of the grout.


Once you know how to clean grease out of grout, you then need to reseal the grout. Learn more about  sealing grout after cleaning here!


Bonus Method: Schedule Professional Grout Cleaning Services

Steam Smart Pro is available for all your in-house cleaning needs in the Tucson, AZ, area! We offer professional services such as mold removal, carpet cleaning and steaming, and duct assistance. Steam Smart Pro also specializes in cleaning your grout and giving it the appearance of being brand new – and all for a low cost and same-day help!


Contact us today at (520) 462-1183 to schedule an appointment with one of our professionals, or email us at info@steamsmartpro.com to receive an estimate!


Author Bio:

Eric Bullard

The owner of Steam Smart Pro in Tucson, AZ, brings over 20 years of invaluable experience in the field of carpet, tile, and air duct cleaning. With a strong dedication to quality and a deep understanding of effective cleaning techniques, Eric consistently delivers outstanding results to his satisfied residential and commercial clients.

Our Recent Post
by Eric Bullard 12 July 2024
Discovering an unknown and unpleasant odor in your home is always concerning. One commonly unsuspected culprit of a “smoke”, or “burning” smell comes from a home’s AC (air duct) system. If your air ducts have a lingering smell of smoke, here are six reasons why, and what to do about it. 1) Dirty Air Filter The first thing you should check is your air filter. Having a dirty air filter can not only cause unpleasant odors, but it can also lead to weak performance of your unit, many times even causing it to overheat. This is due to the filter being clogged with dirt and debris, leading to restricted air flow. Solution: Replacement of old air filter. This can easily be done at home with the help of a ladder. Make sure you have the correct measurements of the filter, as they vary in many different sizes. Read your owner’s manual to find out how often you should replace your filter. 2) Failing HVAC system In some cases, a malfunctioning HVAC system can cause a “burning” smell to emit from your air ducts. If there is a problem with any of your HVAC components, it can produce a burning odor that can be mistaken for smoke. There are 2 main faulty components that you should be wary of: Broken Fan Belt - Burning smell accompanied by a squealing noise. Overheated Fan Motor - Burning smell due to overheating. This is a serious issue that should be addressed ASAP. Solution: Keeping up on regular maintenance of your HVAC system. It is important to make sure each of these parts are fixed or replaced by a professional technician to ensure a safe installment, and prevent any further damage to your unit. 3) Electrical Failure A lingering burning smell followed by a popping sound in the same area can be a sign of an electrical failure. The burning smell may be a result of sparks and heat build up. Solution: If you believe it can be an electrical failure, be sure to turn your AC unit off immediately and contact a technician to take a look at it. Electrical failure should only be handled by a professional with proper safety training. 4) Damaged Capacitor The capacitor is responsible for storing electrical energy and helps to start the AC unit's compressor. The capacitor can cause a burning smell if there is regular overheating. Some signs of damage include: AC not starting up Strange noises coming from unit Capacitor is visibly damaged or swollen Solution: Attempting to repair this yourself can be extremely dangerous, so be sure that you contact a professional technician right away! 5) Debris build-up Over time, dirt and debris can accumulate in your ductwork and its components. When your unit is turned on for the first time in a while, it can cause the unit’s fan blades to create a musty odor that can be mistaken as smoke. Solution: Regular air duct cleaning is essential to preventing debris buildup + keeping your home smelling fresh. 6) Smoke Byproducts If you or any previous owners have ever smoked inside the home, it is likely that your air ducts are coated in smoke byproducts such as nicotine and tar. Solution: Hiring a professional to clean your air ducts will help rid of any smoke byproducts + odor particles, as well as any dust and debris that have accumulated over time. There are many health benefits to regular maintenance of your air ducts . Conclusion Overall, if you're experiencing a burning smell coming from your AC unit, it is essential to address the issue promptly. It is best to hire professional technicians with safety training to take a look at any issues with your air ducts in order to prevent further damage to the unit, or any harm to yourself. Regular maintenance of your air duct system has endless benefits, resulting in a long-lasting unit that keeps your home safe and comfortable all year long. In need of professional Air Duct Cleaning in Tucson, AZ? Steam Smart Pro is your solution! Schedule online or call (520)416-4308 for a FREE quote today!
8 June 2024
Tile and grout surfaces can add beauty and functionality to any home, but they require regular maintenance to keep them looking their best. Proper care and maintenance of your tile and grout can help prolong their life and preserve their appearance for years to come. In this blog post, we will share some essential maintenance tips to help you maintain your tiled surfaces in top condition. 1. Regular Cleaning Regular cleaning is key to maintaining the appearance of your tile and grout surfaces. To do this, sweep or vacuum your tiled floors regularly to remove dirt and debris that can scratch and dull the tiles. Use a mild cleaning solution and a soft brush or mop to clean tile and grout surfaces regularly to prevent staining and discoloration. If you happen to have rust on your tile that needs cleaning, click here to find the simple DIY solution! 2. Sealing Seal your tile and grout surfaces to protect them from stains, moisture, and dirt. Sealing creates a protective barrier that helps prevent grime and water from penetrating and seeping into the porous surfaces of tiles and grout. It is recommended by professionals that we reseal our tile and grout surfaces at least once every year to maintain their protective properties. 3. Grout Maintenance Grout is porous and prone to staining and discoloration. To keep your grout looking clean and fresh, regularly clean and scrub grout lines with a grout brush and a mild cleaning solution. Avoid using harsh chemicals or abrasive cleaners that can damage the grout. Consider applying a grout sealer to protect and prolong the life of your grout. 4. Preventative Measures To prevent damage and wear on your tile and grout surfaces, use mats or area rugs in high-traffic areas, such as entryways and hallways. You can also place felt pads under furniture legs to prevent scratching and scuffing your tile floors. Finally, be sure to wipe up any spills and stains immediately as they happen to prevent fluids from seeping into the grout and causing permanent damage that could be avoided! 5. Professional Cleaning While there is no doubt that regular maintenance is essential, professional tile and grout cleaning is always recommended in order to better deep clean and sanitize your tiled surfaces. Professional cleaners have the expertise, equipment, and cleaning solutions to effectively remove deep-seated dirt, stains, and bacteria from tile and grout surfaces. By following these 5 simple maintenance tips, you can prolong the life and appearance of your tile and grout surfaces, as well as ensure its functionality in your home for years to come. Always remember that proper care and maintenance are both essential when it comes to ensuring that your home is always looking its best! Looking for Tile + Grout cleaning in Tucson, Arizona, that will leave you floored? Call Steam Smart Pro at (520) 416-4308 today for a FREE estimate every time!
8 June 2024
Carpet cleaning has always played an overlooked yet crucial role when it comes to maintaining a tidy home. However, there are many misconceptions and myths surrounding carpet cleaning that can lead to confusion and the spread of misinformation. It’s important that we debunk some of the most common misconceptions about carpet cleaning to help you make informed decisions when it comes to caring for your home’s carpets! Misconception #1: Vacuuming is enough to keep carpets clean Regular vacuuming is undeniably an important step in removing surface dirt and debris from carpets, but it is not quite enough to eliminate deep-seated dirt, allergens, and bacteria. Professional carpet cleaning is necessary to thoroughly clean and sanitize carpets, ensuring a healthy indoor environment for you and your family. Misconception #2: Carpet cleaning can damage carpets It is believed by some that carpet cleaning can damage carpets, cause them to shrink or make them lose their shape. However, when done correctly by trained professionals using the correct methods + equipment, carpet cleaning can actually extend the life of your carpets, with the plus of keeping them looking fresh and vibrant. Misconception #3: DIY carpet cleaning is just as effective as professional cleaning While DIY carpet cleaning methods such as using rental carpet cleaning machines or homemade cleaning solutions may seem cost-effective, they often do not provide the same level of deep cleaning and sanitization as professional carpet cleaning. Professional carpet cleaners have the equipment, and specialized cleaning solutions and the specialized expertise to effectively remove tough stains, odors, and allergens from carpets. Misconception #4: Carpets should only be cleaned when they appear dirty Many homeowners wait until their carpets look visibly dirty before scheduling a professional cleaning. However, regular carpet cleaning is essential for maintaining a healthy indoor environment, even if your carpets appear clean. Over time, carpets can accumulate dust, allergens, bacteria, and other contaminants that are often not visible to the naked eye, making regular cleaning crucial for your health and well-being. Misconception #5: All carpet cleaning methods are the same There are various carpet cleaning methods available, including steam cleaning, dry cleaning, and hot water extraction. Each method has its own advantages and is suitable for different types of carpets and cleaning needs. It is important to choose a reputable company that uses the right cleaning method for your specific carpets to ensure optimal results. Since reading this article, you now know that it is super important to separate fact from fiction when it comes to home maintenance. There are many health benefits that come from carpet cleaning, as well as many other overlooked aspects of your home. By debunking these common misconceptions today, we hope that you can now make informed decisions when it comes to cleaning and maintaining your home’s carpets! Need professional carpet cleaning in Tucson, Arizona? Call Steam Smart Pro at (520) 416-4308 today to book a FREE quote!
SEE MORE

Request A Free Estimate

Free Estimate Form

Share by: